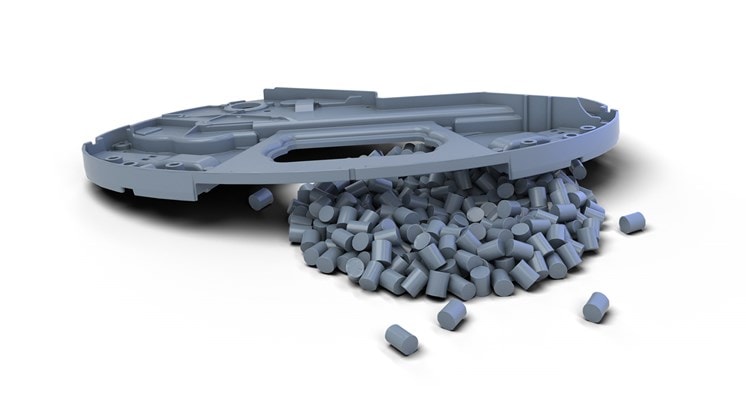
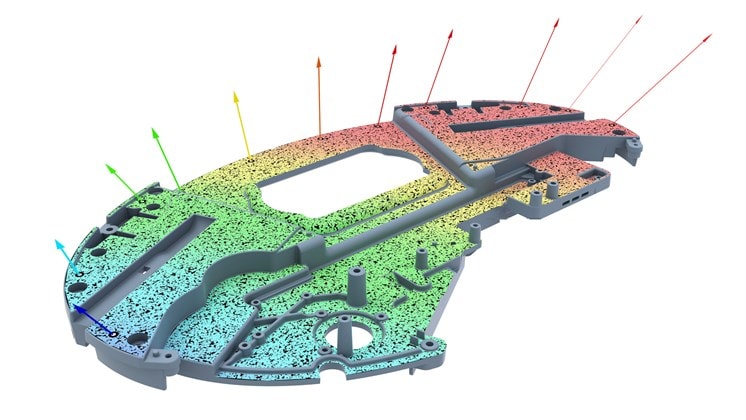
In plastics engineering, 3D measurement technology supports and speeds up all phases in injection molding, blow molding and thermoforming processes: from prototype and tool construction to first article inspection reports up to assembly analysis and load testing. ATOS is an optical 3D coordinate measuring system allowing non-contact measurements of complete surfaces of prototypes, electrodes, tools and injection-molded parts regardless of the object size. In contrast to tactile measuring techniques, this method even captures complex freeform contours quickly and completely.
Material Properties
Material manufacturers use testing procedures to determine material properties and create material cards. The knowledge of plastic properties is a reliable basis for adequate component design (CAD), the development of a functioning tool, realistic simulation (CAE) and the optimization of product variants, tool layout and injection molding processes. GOM’s optical 3D testing system ARAMIS offers full-field measurement of material specimens in order to determine material behavior and material parameters.
Assembly and Load Tests
Full-field or point-based 3D online tracking allows aligning and positioning physical parts relative to each other (optical gauge) and an optimum virtual alignment to be transferred into the real physical world. Supported by the powerful ATOS software, the ATOS system enables a flexible and effective digital assembly of several parts. As a result, mounting and installation as well as deformation and gap sizes can be checked.
Plastic Parts and First Article Inspection
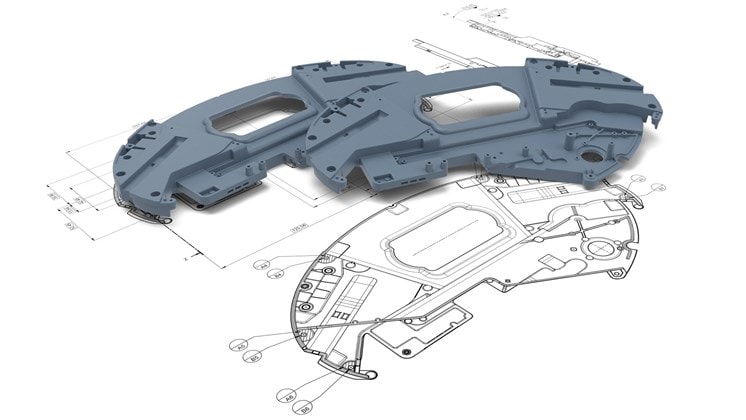
Full-field shape and dimension analyses including complete measuring and inspection reports (FAI) ensure that the functionality is secured and optical requirements are met and allows the tension-free mounting of a component. The first article inspection can be carried out based on the measuring plan (CMM inspection), CAD model or PMI data set with features such as Geometric Dimensioning and Tolerancing (GD&T). With GOM’s 3D full-field measuring system ATOS, no area of the part remains unchecked.
