In manufacturing, maintaining product quality is a never-ending challenge. With tight deadlines and high expectations, ensuring accuracy during the product development stage is crucial. Yet, many companies face delays and inconsistencies in their quality assurance processes due to outdated methods and over-reliance on a few skilled professionals.
At Triple Infotech, we recognize these challenges and offer solutions to make quality assurance faster, more accurate, and accessible to everyone in your team—regardless of expertise. Let’s explore common roadblocks and how our 3D scanning technology addresses them.
Problem 1: Inconsistent Measurements and Lengthy Inspection Times
When using manual tools like calipers or micrometers, achieving consistent and precise measurements is challenging, particularly when complex geometries are involved. The process is slow and prone to human error, leading to costly delays and reworks.
Solution: Speed and Accuracy with 3D Scanning
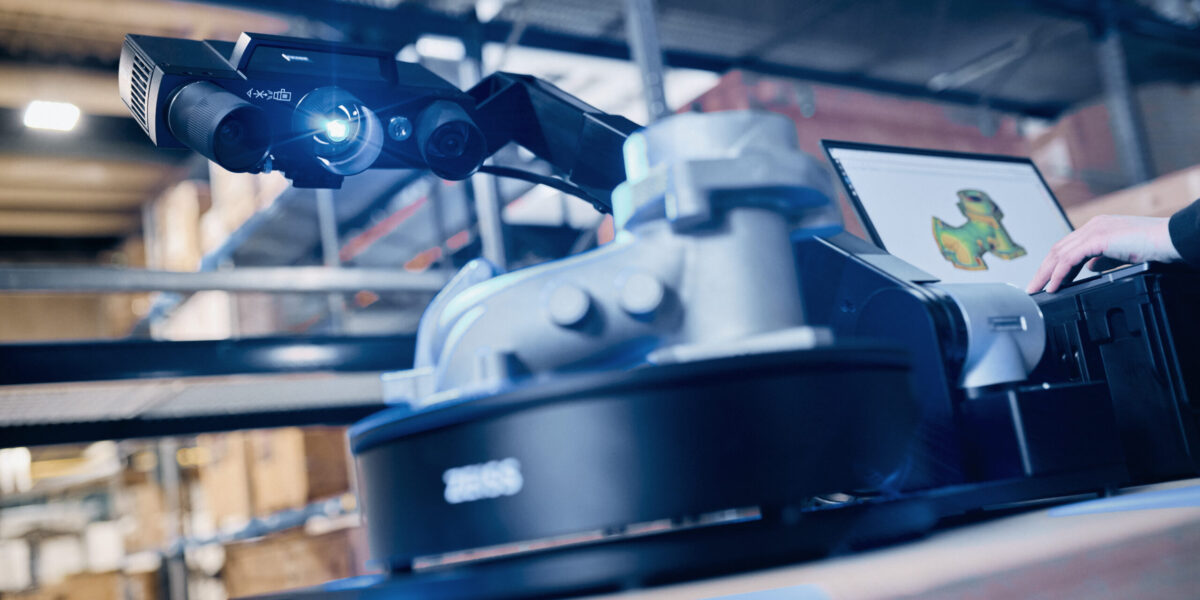
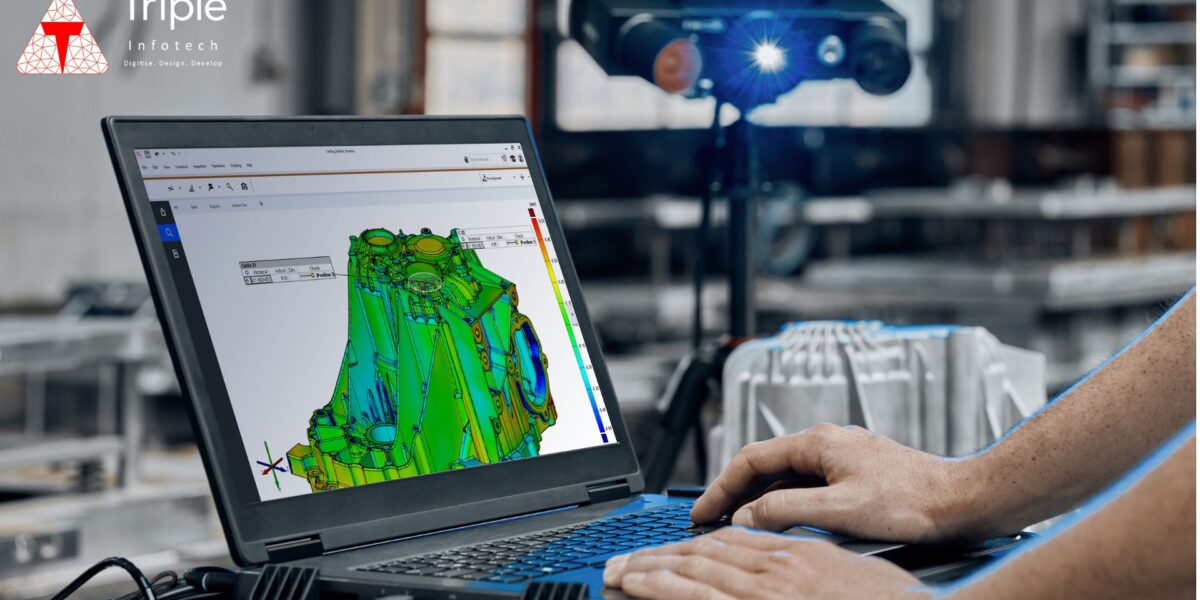
Our high-precision 3D scanners like ATOS Q and GOM Scan 1 revolutionize the inspection process by capturing every minute detail of a part in minutes. The data is more consistent, reliable, and free from human errors, allowing you to reduce inspection times and improve overall product quality.

Problem 2: Dependency on Skilled Inspectors
Traditional measurement methods require a high level of expertise to operate. This leads to a dependency on a small group of highly skilled individuals, causing bottlenecks in the inspection process when those experts aren’t readily available.
Solution: Easy-to-Use 3D Scanners for All Skill Levels
Unlike traditional equipment, our 3D scanners are designed to be user-friendly. With minimal training, even semi-skilled personnel or non-engineering graduates can operate the scanners efficiently. Comprehensive measurements can be obtained quickly without needing experts on hand at all times. This allows for faster inspections, reduces dependency on specialized talent, and empowers more team members to contribute to the quality assurance process.
Problem 3: Delays in the Quality Assurance Stage During Product Development
As products evolve through design iterations, ensuring quality at every stage can slow down the overall development timeline. Manual inspections often delay the approval process, creating a bottleneck between design and production.
Solution: Speeding Up QA with Automated Scanning
With our 3D scanning solutions, you can easily integrate quality assurance into every step of the product development cycle. Automated inspection tools not only speed up the verification of design changes but also ensure you’re maintaining high accuracy throughout the entire process. This significantly reduces the time between iterations, allowing you to launch products faster without sacrificing quality.
At Triple Infotech, we believe quality assurance shouldn’t be a burden on your timeline or resources. With our advanced 3D scanning solutions, you can achieve faster, more reliable results at every stage of product development, while empowering your entire team to contribute to the process.
Ready to improve your quality assurance? Contact us today to schedule a demo and experience the difference!


Your writing has a way of resonating with me on a deep level. It’s clear that you put a lot of thought and effort into each piece, and it certainly doesn’t go unnoticed.
Gracias por la informacion. Gracias por compartirlo. Gracias!!